This recipe for No-Bake Banoffee Pie makes a dazzling dessert layered with a graham cracker base, creamy caramel, sliced bananas, and a whipped cream topping. This British classic is the perfect summer dessert.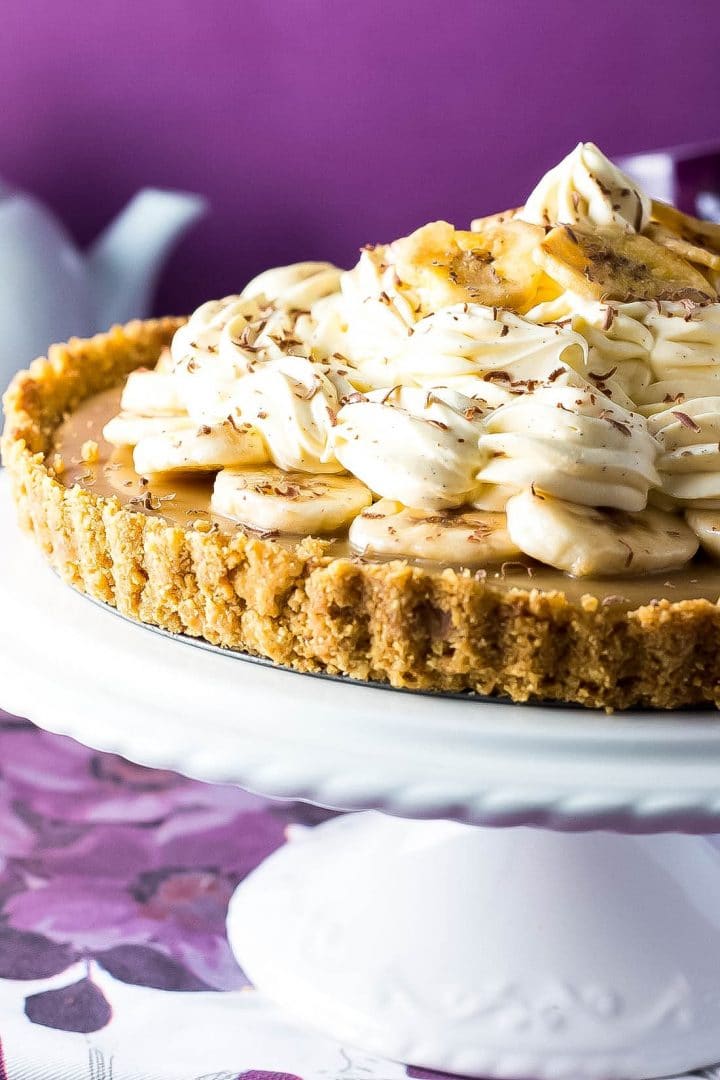
Banoffee Pie is a very popular British Dessert. I’ve had it served at more parties and gatherings I have been to more than anything else.
Why this recipe works:
- Being no-bake makes it a perfect summer dessert. No need to turn on the oven!
- The condensed milk and brown sugar combined create the richest, most delicious toffee.
- The caramel is easy to make and requires no obsessing over sugar color.
- This banoffee pie is served chilled, so it’s wonderfully refreshing in the warmer months.
I’ll be honest, it took me years to try it. It just didn’t seem appealing to me (probably because I’m a bit crazy when it comes to bananas – I like them really firm after that, I either bake with them or someone else has to eat them).
I recently went to a friend’s house for dinner and she made it for dessert. Honestly, I still didn’t want to eat it but didn’t to be rude so thought I’d take a few bites. I tried it and It was delicious! I am now a Banoffee Pie convert.
So when I got home, I started doing research on how it’s made. Quite often, it’s made with canned, ready-made caramel, but as this site is all about food from scratch, I had to find another way.
The toffee flavored caramel in Banoffee Pie is creamier than what I’m used to and after further research, I found out why – it’s made with sweetened condensed milk (rather than sugar, butter, and cream).
To make it, you start with heating the butter and sugar together like you normally would.
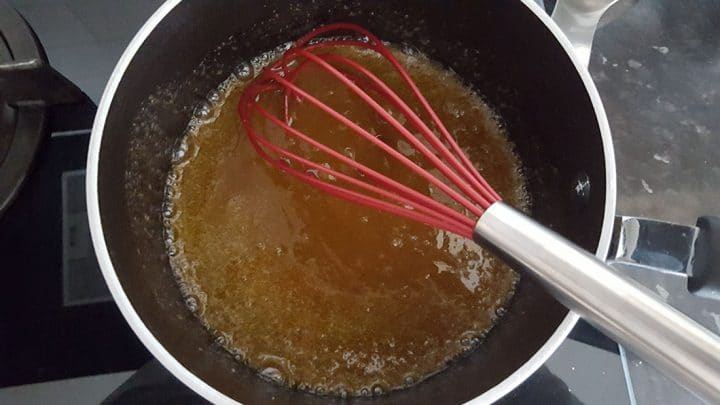
Once the sugar is completely dissolved, a full can of sweetened condensed milk is added (I also added a 1/2 teaspoon of salt to cut the sweetness a bit)
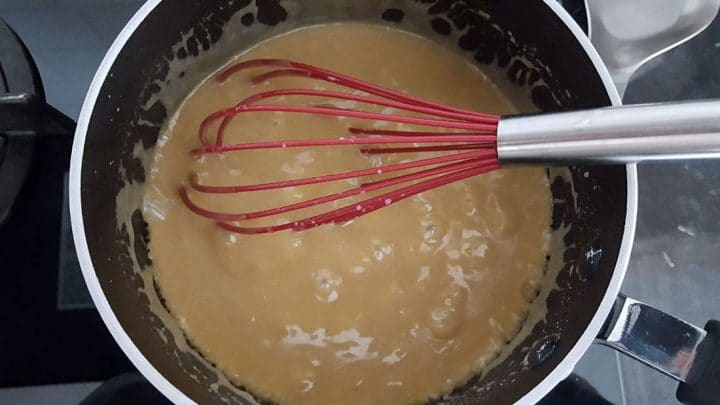
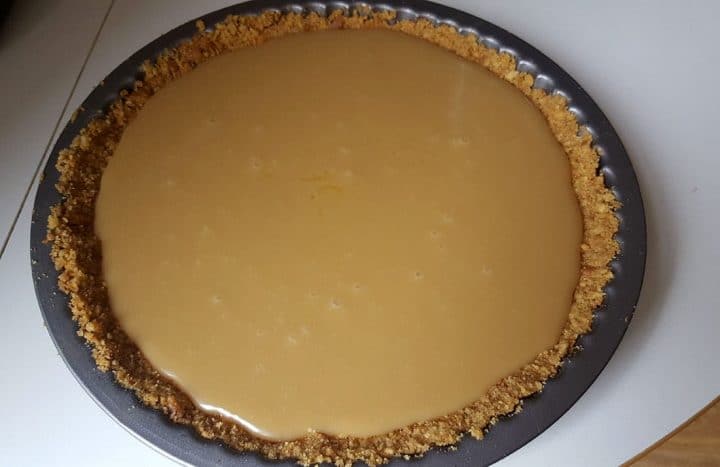
Then it’s cooked on high heat for about a minute (or until it turns a caramel color). Set aside to cool before adding it to the graham cracker base.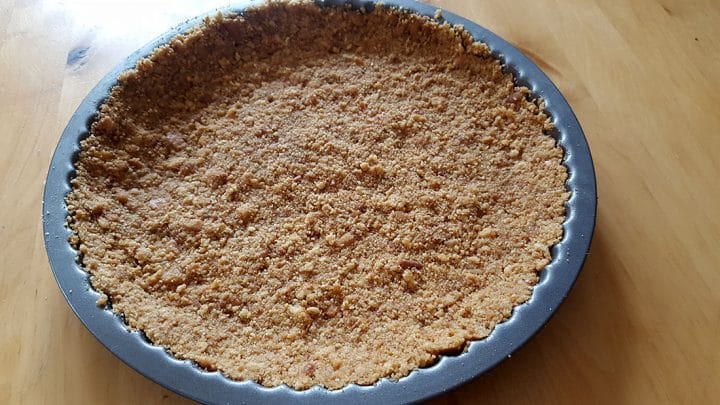
Pour into the base then chill until set.
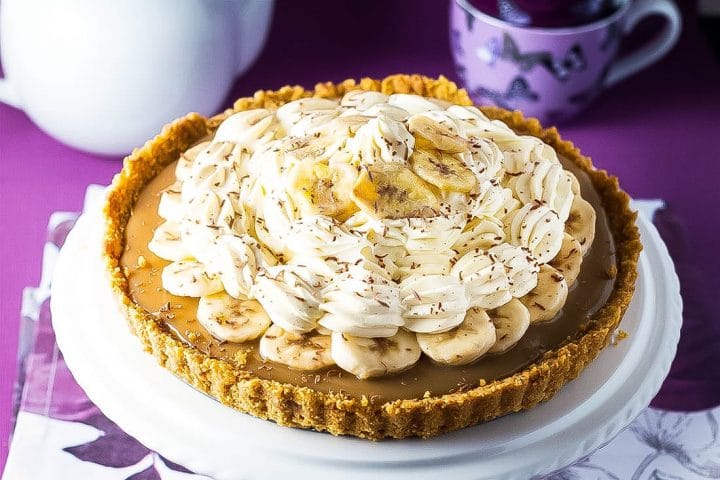
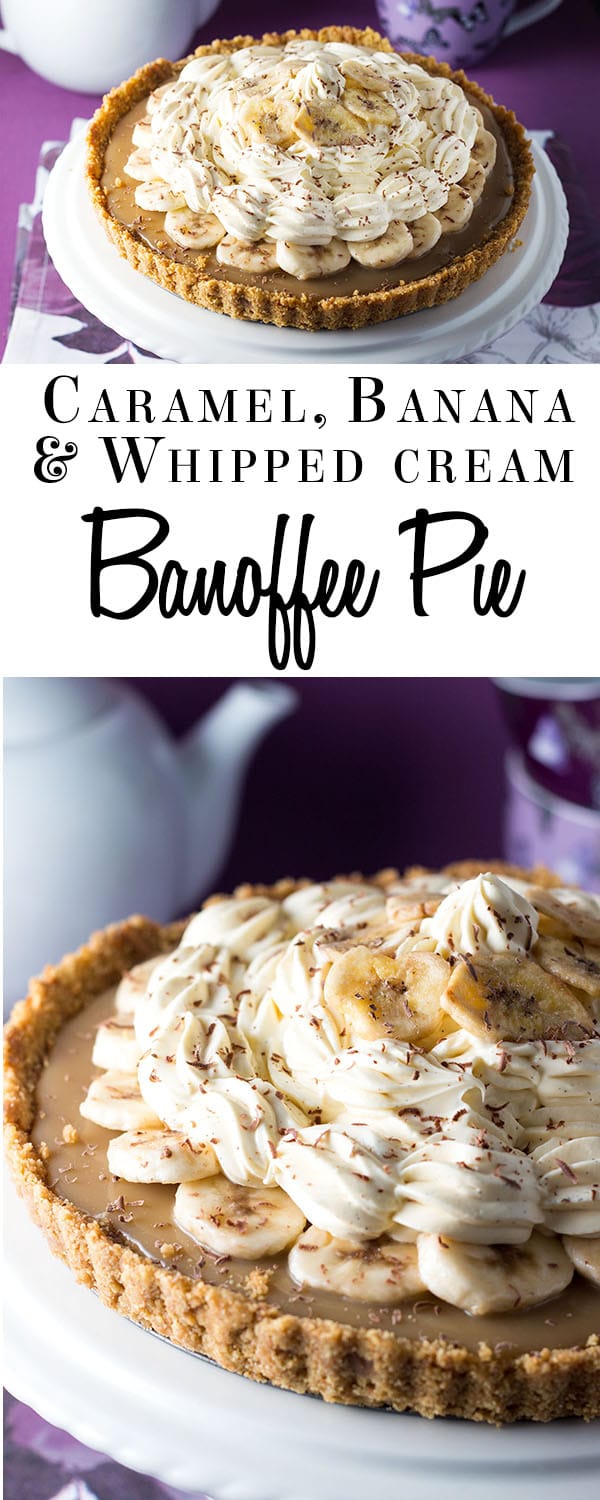
When you’re ready to serve, add the banana slices.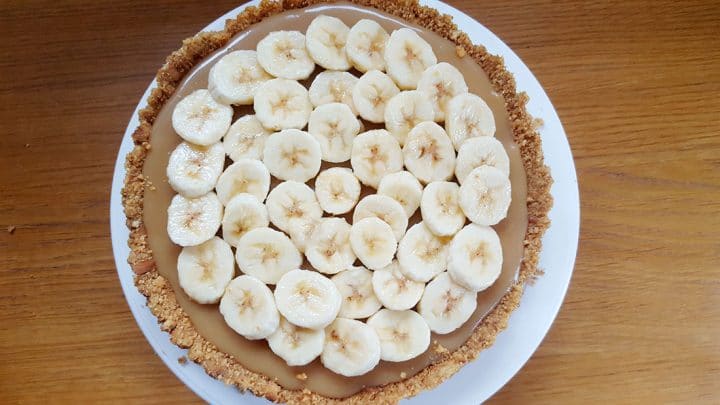
I left the edge uncovered just for photos (so you can see each layer clearly), but you can go to the edge with the bananas and the cream.
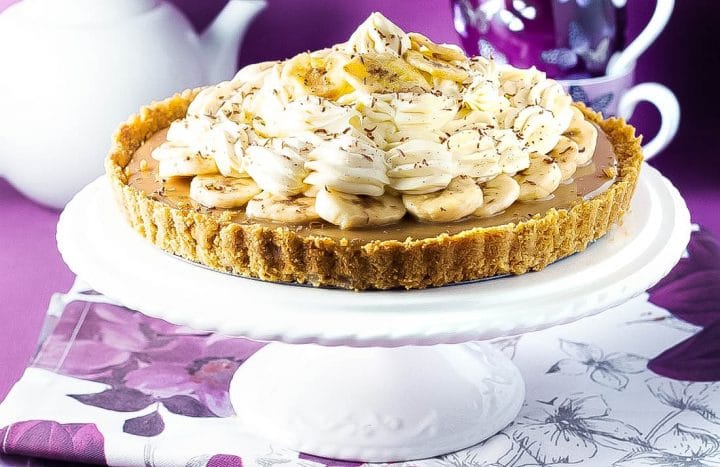
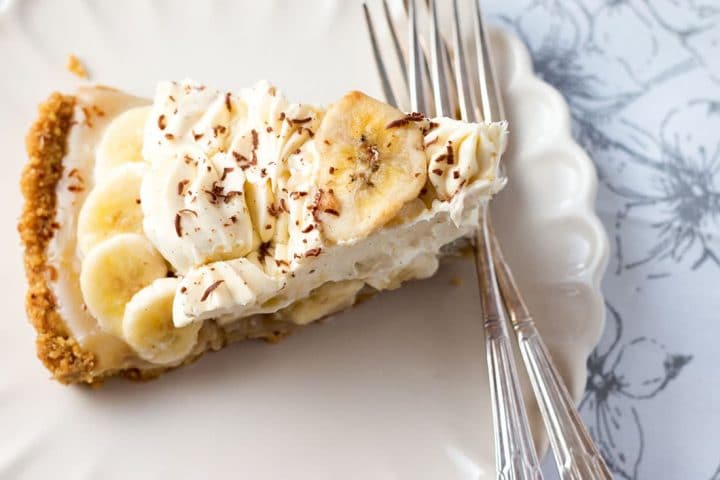
After the whipped cream layer, it’s traditionally sprinkled with grated chocolate (I used dark chocolate).
Cook’s Tips
- This banoffee pie is best eaten on the day it’s assembled. As I am on a diet, I only ate one slice of the pie on the first day. My husband, on the other hand, had it left over for a good few days. Although it was still good, the bananas do start breaking down so I suggest eating it on the same day it’s assembled with the bananas and cream (the base and caramel can be prepared 2 or three days before).
- You’ll know your whipped cream is ready when it holds a stiff peak. You will be able to run a spoon through it, and the whipped cream will hold its shape.
- Don’t skip chilling the crust: this helps keep the crust separate from the warm caramel.
- Your caramel is ready when it’s boiled for about a minute and it turns a rich caramel color.
Recipe Variations
- Add a handful of chopped peanuts or pecans to the top with the grated chocolate for a bit of crunch.
- Use a vegetable peeler to slice thin curls of dark or milk chocolate in place of the grated chocolate. So decadent.
FAQs
- How long will Banoffee Pie keep for in the fridge? Banoffee Pie is best served the same day as it’s prepared as with time the bananas will start to break down. If you want to make it ahead of time, it will keep for a couple of days, but will not look as nice as when freshly prepared.
- Can Banoffee Pie Be Frozen? Banoffee Pie can be frozen, but not fully assembled. If you plan to freeze the pie, make the crust and caramel layer in advance, freeze in an airtight container or well wrapped in plastic. When ready to serve, thaw overnight and prepare the banana and cream layers when you plan to serve.
- Can Banoffee Pie Be Made the Day before? Banoffee Pie Can be made the day before, but for best results, add the cream and banana layers on the day you want to serve.
Never Miss A Single Recipe!
Join the free Erren's Kitchen mailing list & get the latest tasty goodness straight to your inbox!
★ Did you make this recipe? Please give it a star rating below!
No Bake Banoffee Pie
This dazzling no bake banoffee pie has a buttery base, creamy caramel, and banana layers, and topped with fresh whipped cream.
Ingredients
Crust
9
oz
graham crackers
crushed
½
cup
butter
melted
Caramel Toffee Filling
½
cup
butter
½
teaspoon
salt
⅔
cup
dark brown sugar
1
14oz
can sweetened condensed milk
Banana Layer
4
small bananas
peeled and sliced
1-2
teaspoons
lemon juice
Whipped Cream Topping
1¼
cup
heavy whipping cream
6
tablespoons
confectioner's sugar
1
teaspoon
vanilla extract
1
tablespoon
skimmed milk powder
Grated chocolate
for decoration
Banana Chips
for decoration
Instructions
Make the crust:
Put the graham cracker crumbs in a bowl, then add in the melted butter and mix it all together. Spoon into the base and press against the bottom and sides. Chill it for ten minutes.
Make the caramel:
Melt the butter, salt and dark brown sugar into a non-stick pan over low heat, stirring continuously until the sugar has dissolved.
Add the condensed milk and bring to a rapid boil for about a minute, stirring the whole until it forms a thick golden caramel.
Spread the caramel over the cooled base, let cool and then chill for about 1 hour, until firm or you're ready to serve.
For the topping:
Toss the banana slices with 1-2 teaspoons of lemon juice to stop them from browning. Set aside.
Add powdered sugar (to taste), skimmed milk powder, and vanilla extract to the heavy whipping cream.
Using a food processor, whip the cream until it thickens (this doesn't take long at all so check often). When you run a spoon through it, and it holds its shape without falling back into the gap, it's ready to use.
Place the banana slices over the caramel layer in the base.
Cover the banana slices with the whipped cream.
Decorate with grated chocolate and banana chips and serve.
Nutrition Facts
No Bake Banoffee Pie
Amount Per Serving
Calories 413
Calories from Fat 234
% Daily Value*
Total Fat 26g
40%
Saturated Fat 15g
75%
Cholesterol 74mg
25%
Sodium 388mg
16%
Potassium 224mg
6%
Total Carbohydrates 42g
14%
Dietary Fiber 1g
4%
Sugars 26g
Protein 2g
4%
Vitamin A
17.5%
Vitamin C
4.5%
Calcium
5.7%
Iron
5.9%
* Percent Daily Values are based on a 2000 calorie diet.
Update Notes: This recipe was originally published June 9, 2016, but was re-published in 2018 to add new images, show step by step instructions, Recipe Tips & FAQs, and add nutritional information to the recipe card.



0 komentar: