This was my very first blog post back in 2014. Since then, I’ve made this cake a lot (it’s my son’s very favorite).
Over the years I’ve perfected this recipe. I used to use a creaming method for the butter and sugar, but a friend’s grandmother (who’s a big baker) told me that the best red velvet cakes are made with oil and not butter.
Who am I to argue with a seasoned baker? I tried it her way and she was right – the cake was much lighter and it was super moist. I missed the butter flavor though, so in the end, I did half melted butter and half oil – perfection!
On food coloring:
The key to Red Velvet Cake is good quality food coloring. Using the little liquid bottles you can buy from the grocery store just won’t work. You’ll just end up with a cake that looks chocolate more than anything else.
I’ve tried a lot of food coloring and I find that Pro Gel works best, You can get it here on Amazon.
On Bundt Pans:
Bundt cakes are notoriously hard to remove from the pan.
Non-stick pans are the perfect solution but beware of older non-stick pans. A scratched or worn non-stick surface may no longer be slick enough to release your cake well.
So, it’s important to take good care of your pans and make sure you hand wash them to avoid damaging the non-stick surface.
Grease the pan thoroughly. Use a pan coating product like Wilton’s Cake Release or melted shortening — not butter. The milk solids in butter can act like glue, encouraging cake batter to stick to the pan.
To make the cake:
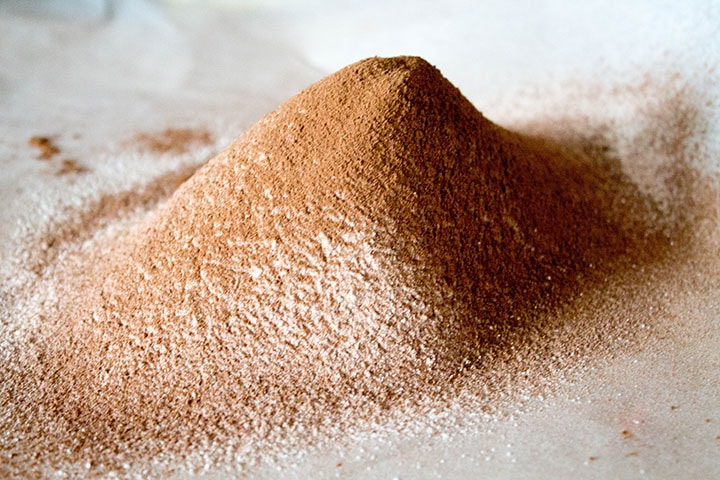
Start with sifting together the flour, cocoa powder, baking powder, baking soda and salt into a large bowl. Set aside.
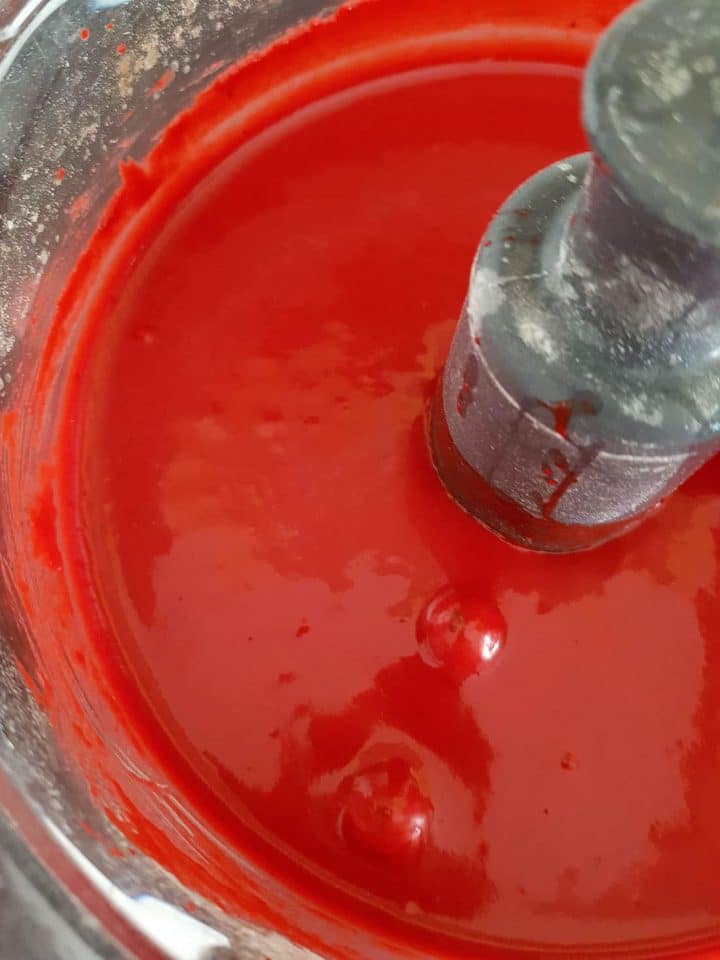
In a large bowl, whisk together buttermilk, eggs, butter, oil, vinegar, vanilla, and red food coloring until well blended.
Add the flour mixture and mix until combined.
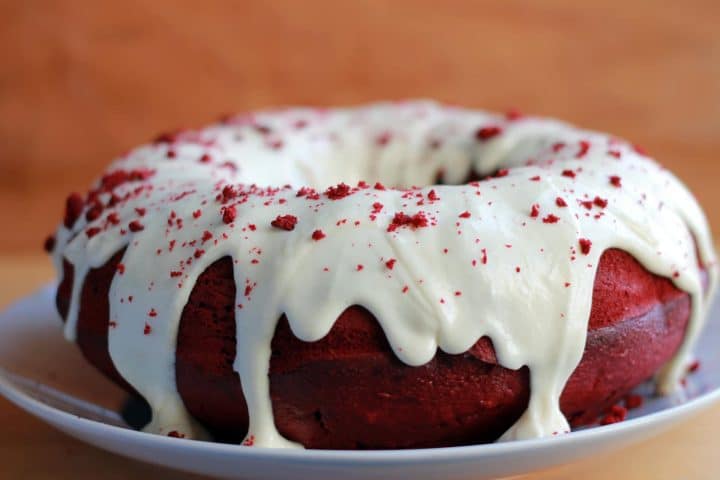
Remove a small bit from the bottom of the cake and crumble it onto a small plate and set aside to use as decoration later. Make the icing. Apply to the cooled cake and sprinkle with the cake crumbs.
Serve and enjoy!
Baking tips:
- Always bake with ingredients that are at room temperature. When you use buttermilk or eggs straight out of the fridge, they won’t mix as well with the dry ingredients at room temperature. Poorly combined ingredients can cause a cake to be dense rather than light and fluffy.
- Be careful not to over mix the batter. Over mixing will result in a tough, dense cake. Once the flour is added to the batter, try mixing with a wooden spoon instead of with a mixer.
- Don’t have buttermilk on hand? You can replace it with a cup of whole milk mixed with a teaspoon of vinegar or lemon juice.
FAQs
How do you store cake with cream cheese icing? Cake iced with cream cheese frosting can be stored in an airtight container for up to three days in the refrigerator.
How do you serve a cake that’s been refrigerated? Take the cake out of the fridge 30-45 minutes before serving to remove the chill.
How do you store cake that hasn’t been frosted? Cake without frosting can be stored well wrapped or in an airtight container for up to three days at room temperature.
Can the cake be frozen? Yes. I recommend freezing without the frosting. To freeze, wrap well or place in an airtight container for up to three months.
★ Did you make this recipe? Please give it a star rating below!
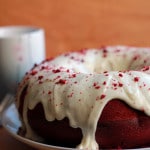
Red Velvet Bundt Cake with Cream Cheese Icing
A simple baked version of an iconic cake, with an irresistible Cream Cheese Icing. This easy, foolproof recipe is perfect for a birthday, dinner parties or a weekend treat
Ingredients
For the cake:
1½
cup
granulated sugar
2½
cups
all-purpose/plain flour
2
tablespoons
cocoa powder
1
teaspoon
baking powder
1
teaspoons
baking soda
1
teaspoon
salt
2
large eggs
1
cup
buttermilk
at room temperature
½
cup
butter
melted
½
cup
vegetable oil
1
teaspoon
vinegar
2
teaspoons
vanilla extract
1
tablespoon
red food coloring paste
For the Frosting:
1
cups
powdered sugar
½
cup
butter
softened
½
cup
cream cheese
softened
1
teaspoon
vanilla extract
2-4
tablespoons
hot water
Instructions
For the cake:
Preheat oven to 350 f/180 c and generously grease bundt pan.
Sift together the sugar, flour, cocoa powder, baking powder, baking soda, and salt into a large bowl. Set aside.
In a large bowl, whisk together buttermilk, eggs, butter, oil, vinegar vanilla, and red food coloring until well blended.
Add the flour mixture and mix until combined.
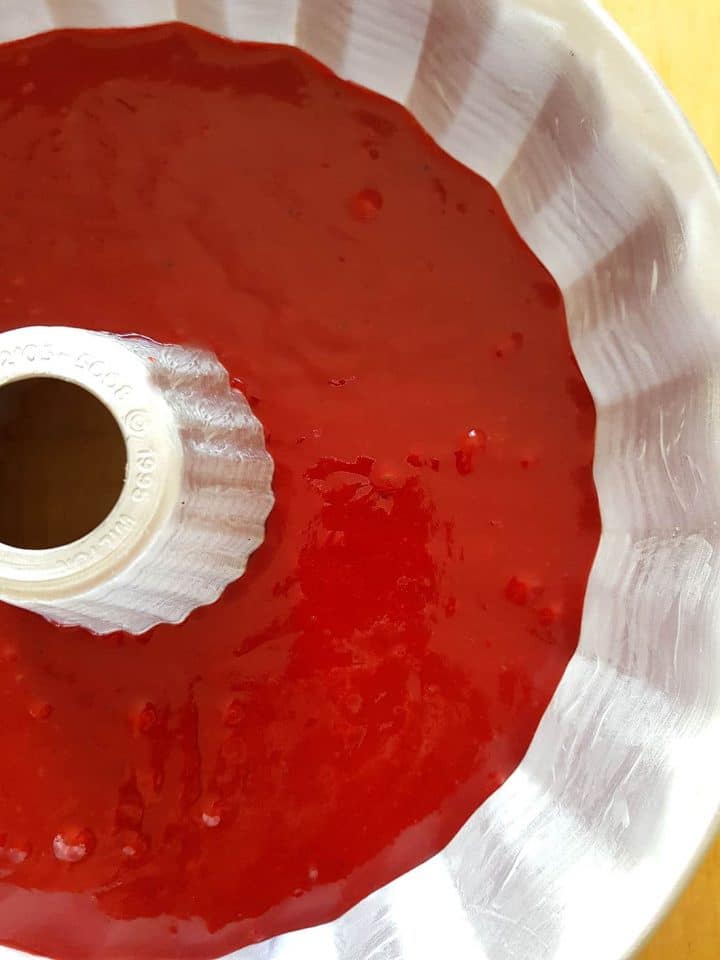
Add the batter to the prepared pan. Bake for approximately 50-55 minutes, or until a cake tester comes out clean.
Remove to a cooling rack till cool. Then invert onto a serving tray or plate.
Remove a small bit from the bottom of the cake and crumble it onto a small plate and set aside to use as decoration later (see photo).
For the Icing
Make sure cream cheese and butter are at room temperature or icing will be lumpy. Blend the cream cheese and butter in a medium mixing bowl until smooth.
Add the powdered sugar 1/2 cup at a time, blending after each addition.
Add the vanilla and hot water 1 tablespoon at a time until the icing is the desired consistency and can be poured (I like mine quite thick).
Pour the icing over the cooled cake and use the cake crumbs to decorate by sprinkling them over the icing.
Recipe Notes
Be careful not to over mix the batter. Over mixing will result in a tough, dense cake. Once the flour is added to the batter, try mixing with a wooden spoon instead of with a mixer.
Don't have buttermilk on hand? You can replace it with a cup of whole milk mixed with a teaspoon of vinegar or lemon juice.
The key to Red Velvet Cake is good quality food coloring. Using the little liquid bottles you can buy from the grocery store just won't work. You'll just end up with a cake that looks chocolate more than anything else.
I've tried a lot of food coloring and I find that Pro Gel works best, You can get it here on Amazon.
FAQs
How do you store cake with cream cheese icing? Cake iced with cream cheese frosting can be stored in an airtight container for up to three days in the refrigerator.
How do you serve a cake that's been refrigerated? Take the cake out of the fridge 30-45 minutes before serving to remove the chill.
How do you store cake that hasn't been frosted? Cake without frosting can be stored well wrapped or in an airtight container for up to three days at room temperature.
Can the cake be frozen? Yes. I recommend freezing without the frosting. To freeze, wrap well or place in an airtight container for up to three months.
Nutrition Facts
Red Velvet Bundt Cake with Cream Cheese Icing
Amount Per Serving
Calories 430
Calories from Fat 135
% Daily Value*
Total Fat 15g
23%
Saturated Fat 8g
40%
Cholesterol 72mg
24%
Sodium 498mg
21%
Potassium 108mg
3%
Total Carbohydrates 68g
23%
Dietary Fiber 1g
4%
Sugars 43g
Protein 6g
12%
Vitamin A
10.5%
Calcium
5.2%
Iron
9.9%
* Percent Daily Values are based on a 2000 calorie diet.
Update Notes: This recipe was originally posted in 2014, but was updated in 2017 with slight changes to the recipe as well as including step by step photos as well as nutritional information.


0 komentar: